How I built my first chrome extension
Published on May 30, 2024
Introduction
I had always wanted to build a Chrome extension for myself ever since I installed my first one, which was a color palette generator called colorhunt some years ago. However, I thought that building a Chrome extension required advanced technical skills.
At the end of April, I had just one month to prepare for my final semester exams in June. I created a timetable to organize my study routine, and while using it, I got the idea to develop a Chrome extension for it. I thought it would be helpful to have a reminder every time I opened the browser and that how I got started!
Let’s Get Started
A Chrome extension is a small program that modifies and enhances the web browsing experience. They operate like regular web apps; anything built with HTML, CSS, and Javascript can be converted into a Chrome extension by simply adding a manifest.json file.
This blog assumes you have prior knowledge of HTML, CSS, and Javascript, as well as a fair understanding of JSON (format for storing and transporting data).
The following are the steps I followed to create my first Chrome extension. It was interesting to see the idea coming together.
Step 1: The idea
As stated above, my idea is to build a study timetable that opens up in my browser tab every time, acting as a reminder. It features a tracker, which is a graph that maps my learning activities over the period.
Step 2: Build
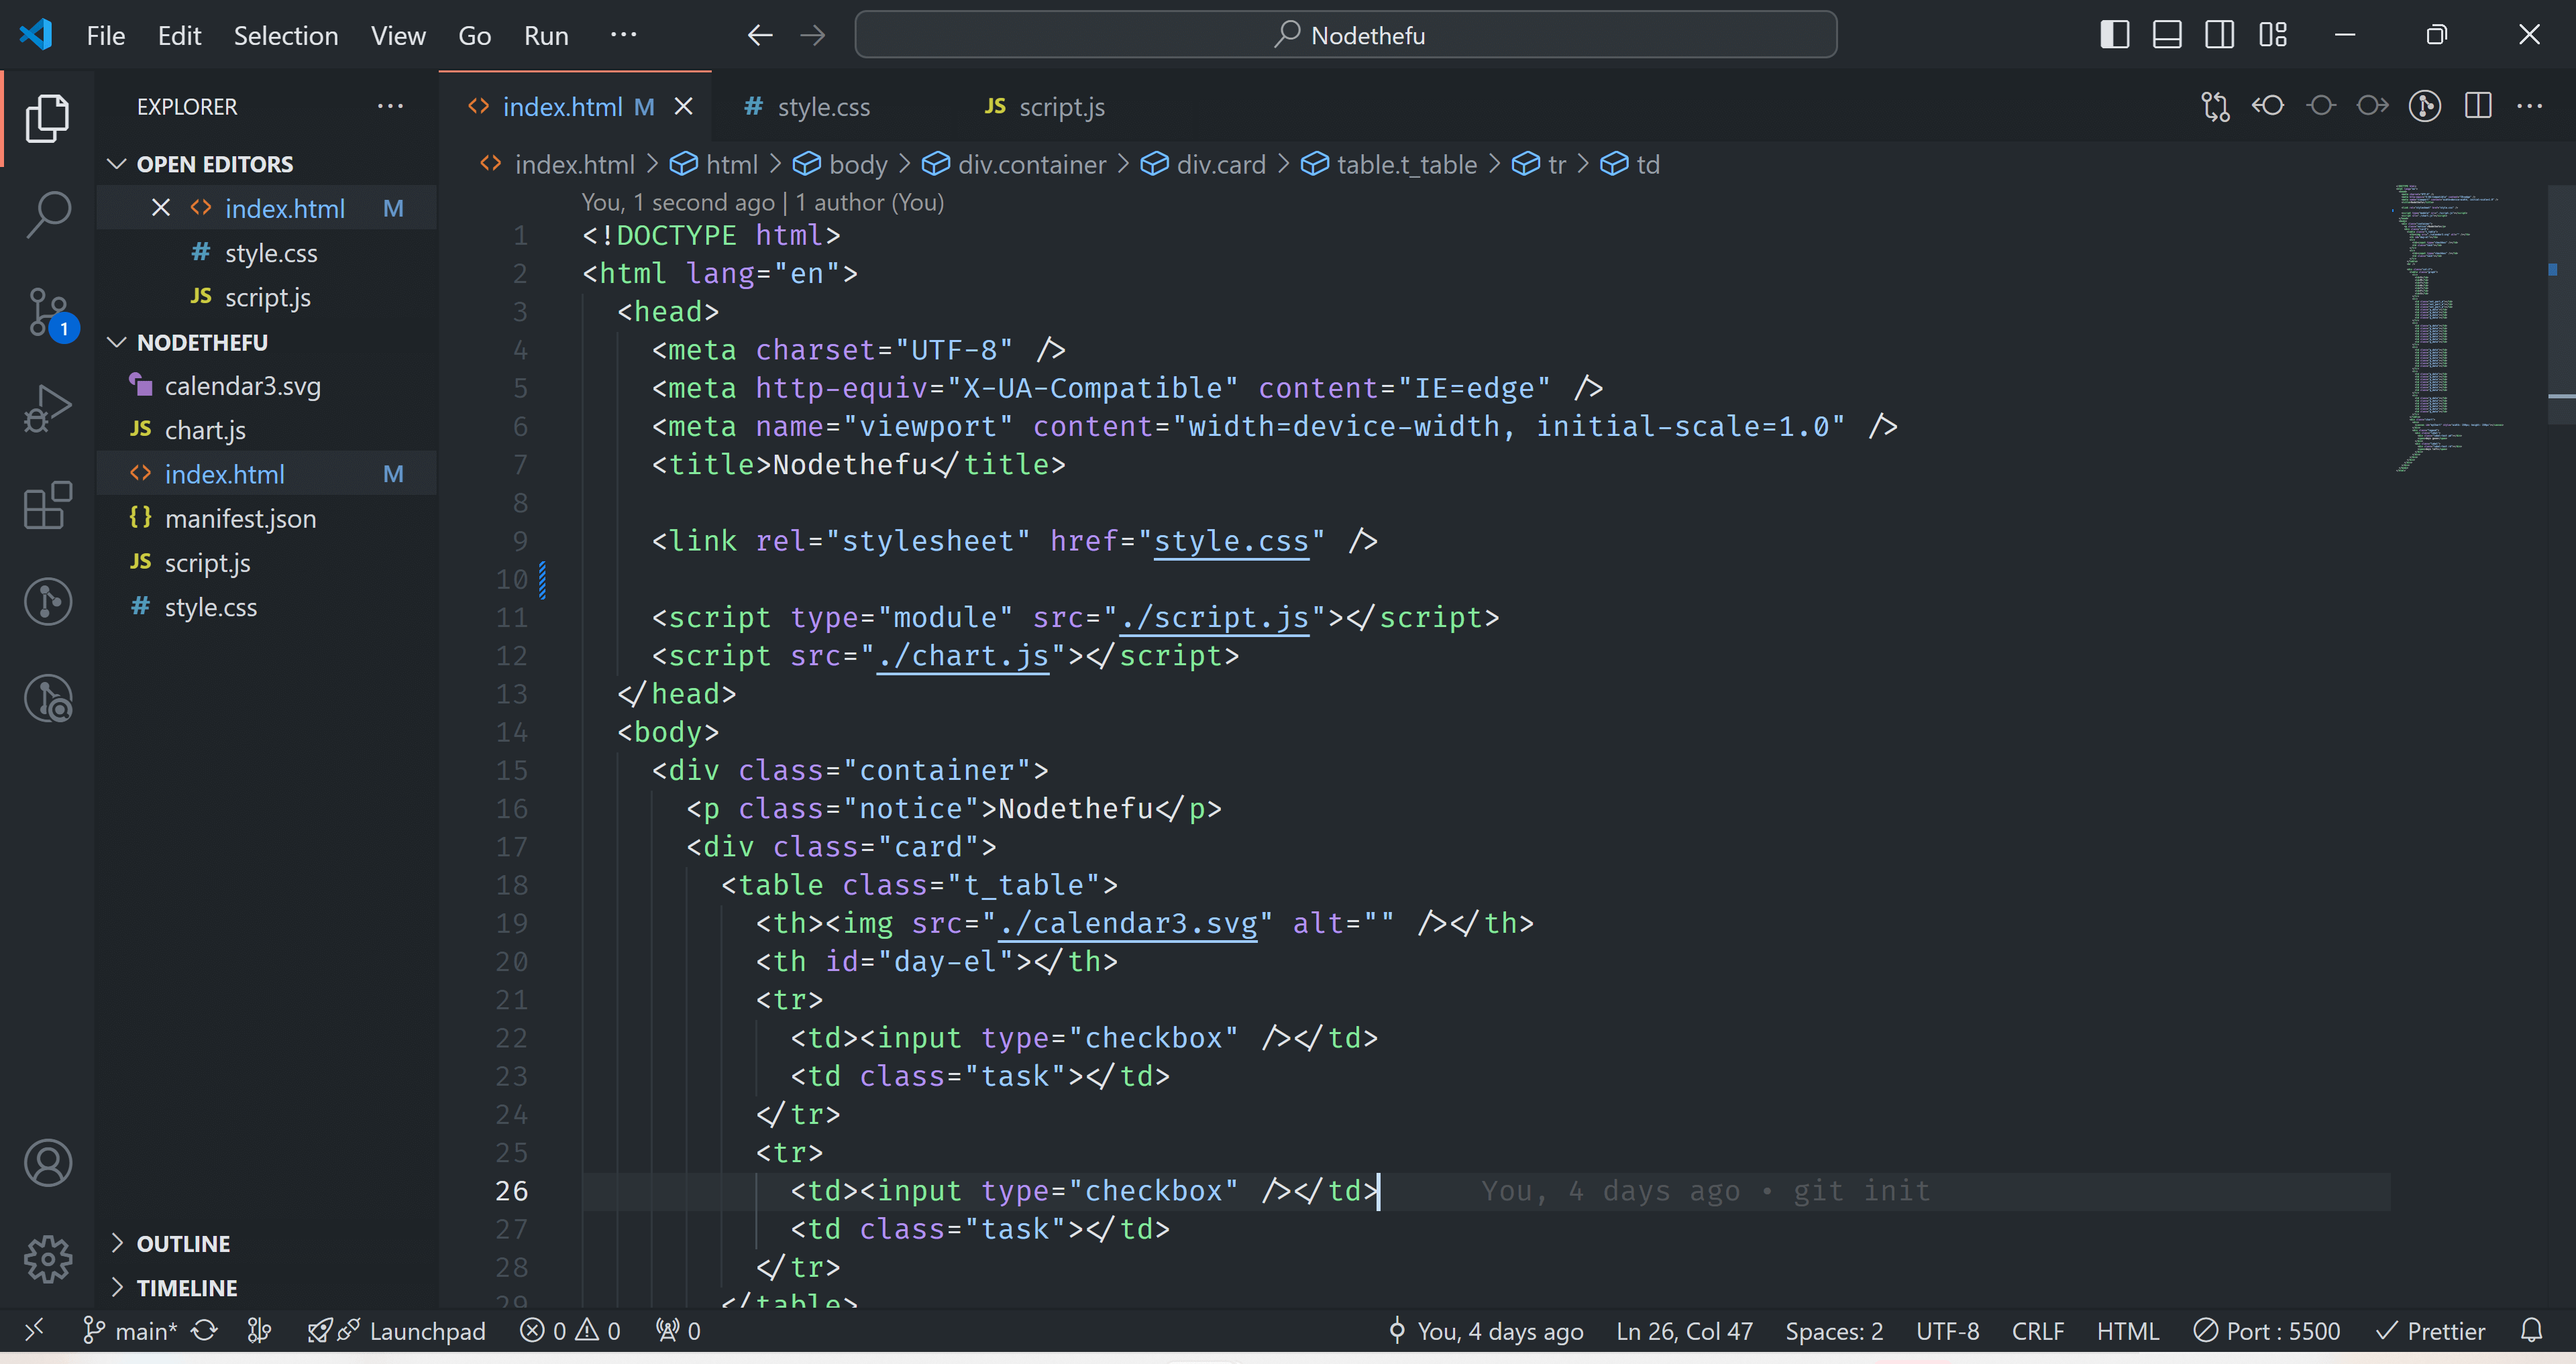
I started the coding without a design in mind. First, I created the to-learn list and the graph component using the <table></table> element. After applying the necessary styles, I proceeded to implement the Javascript functionalities. These included getting the daily course, displaying the study activities, and handling data storage.
The graph component was designed specifically for the month of May and is not dynamic. I used localStorage to store the information for the graph and utilized the Chart.js pie chart module to display the number of days.

Step 3: Configuration
The manifest.json file is the way of describing my application to the chrome extension API, it comes with a lot of properties. This is where all the configuration is done, for a detail information read more here. Below are the basic configuration settings I needed.
Manifest.json
{
  "name": "Nodethefu",
  "version": "1.0.0",
  "description": "Now determines the future",
  "manifest_version": 3,
  "author": "Nana Asamoah Kwaw",
  "action": {
    "default_popup": "index.html",
    "default_title": "Nodethefu"
  },
  //Opens the extension in every new tab
  "chrome_url_overrides": {
    "newtab": "index.html"
  }
}
Step 4: Developer Mode
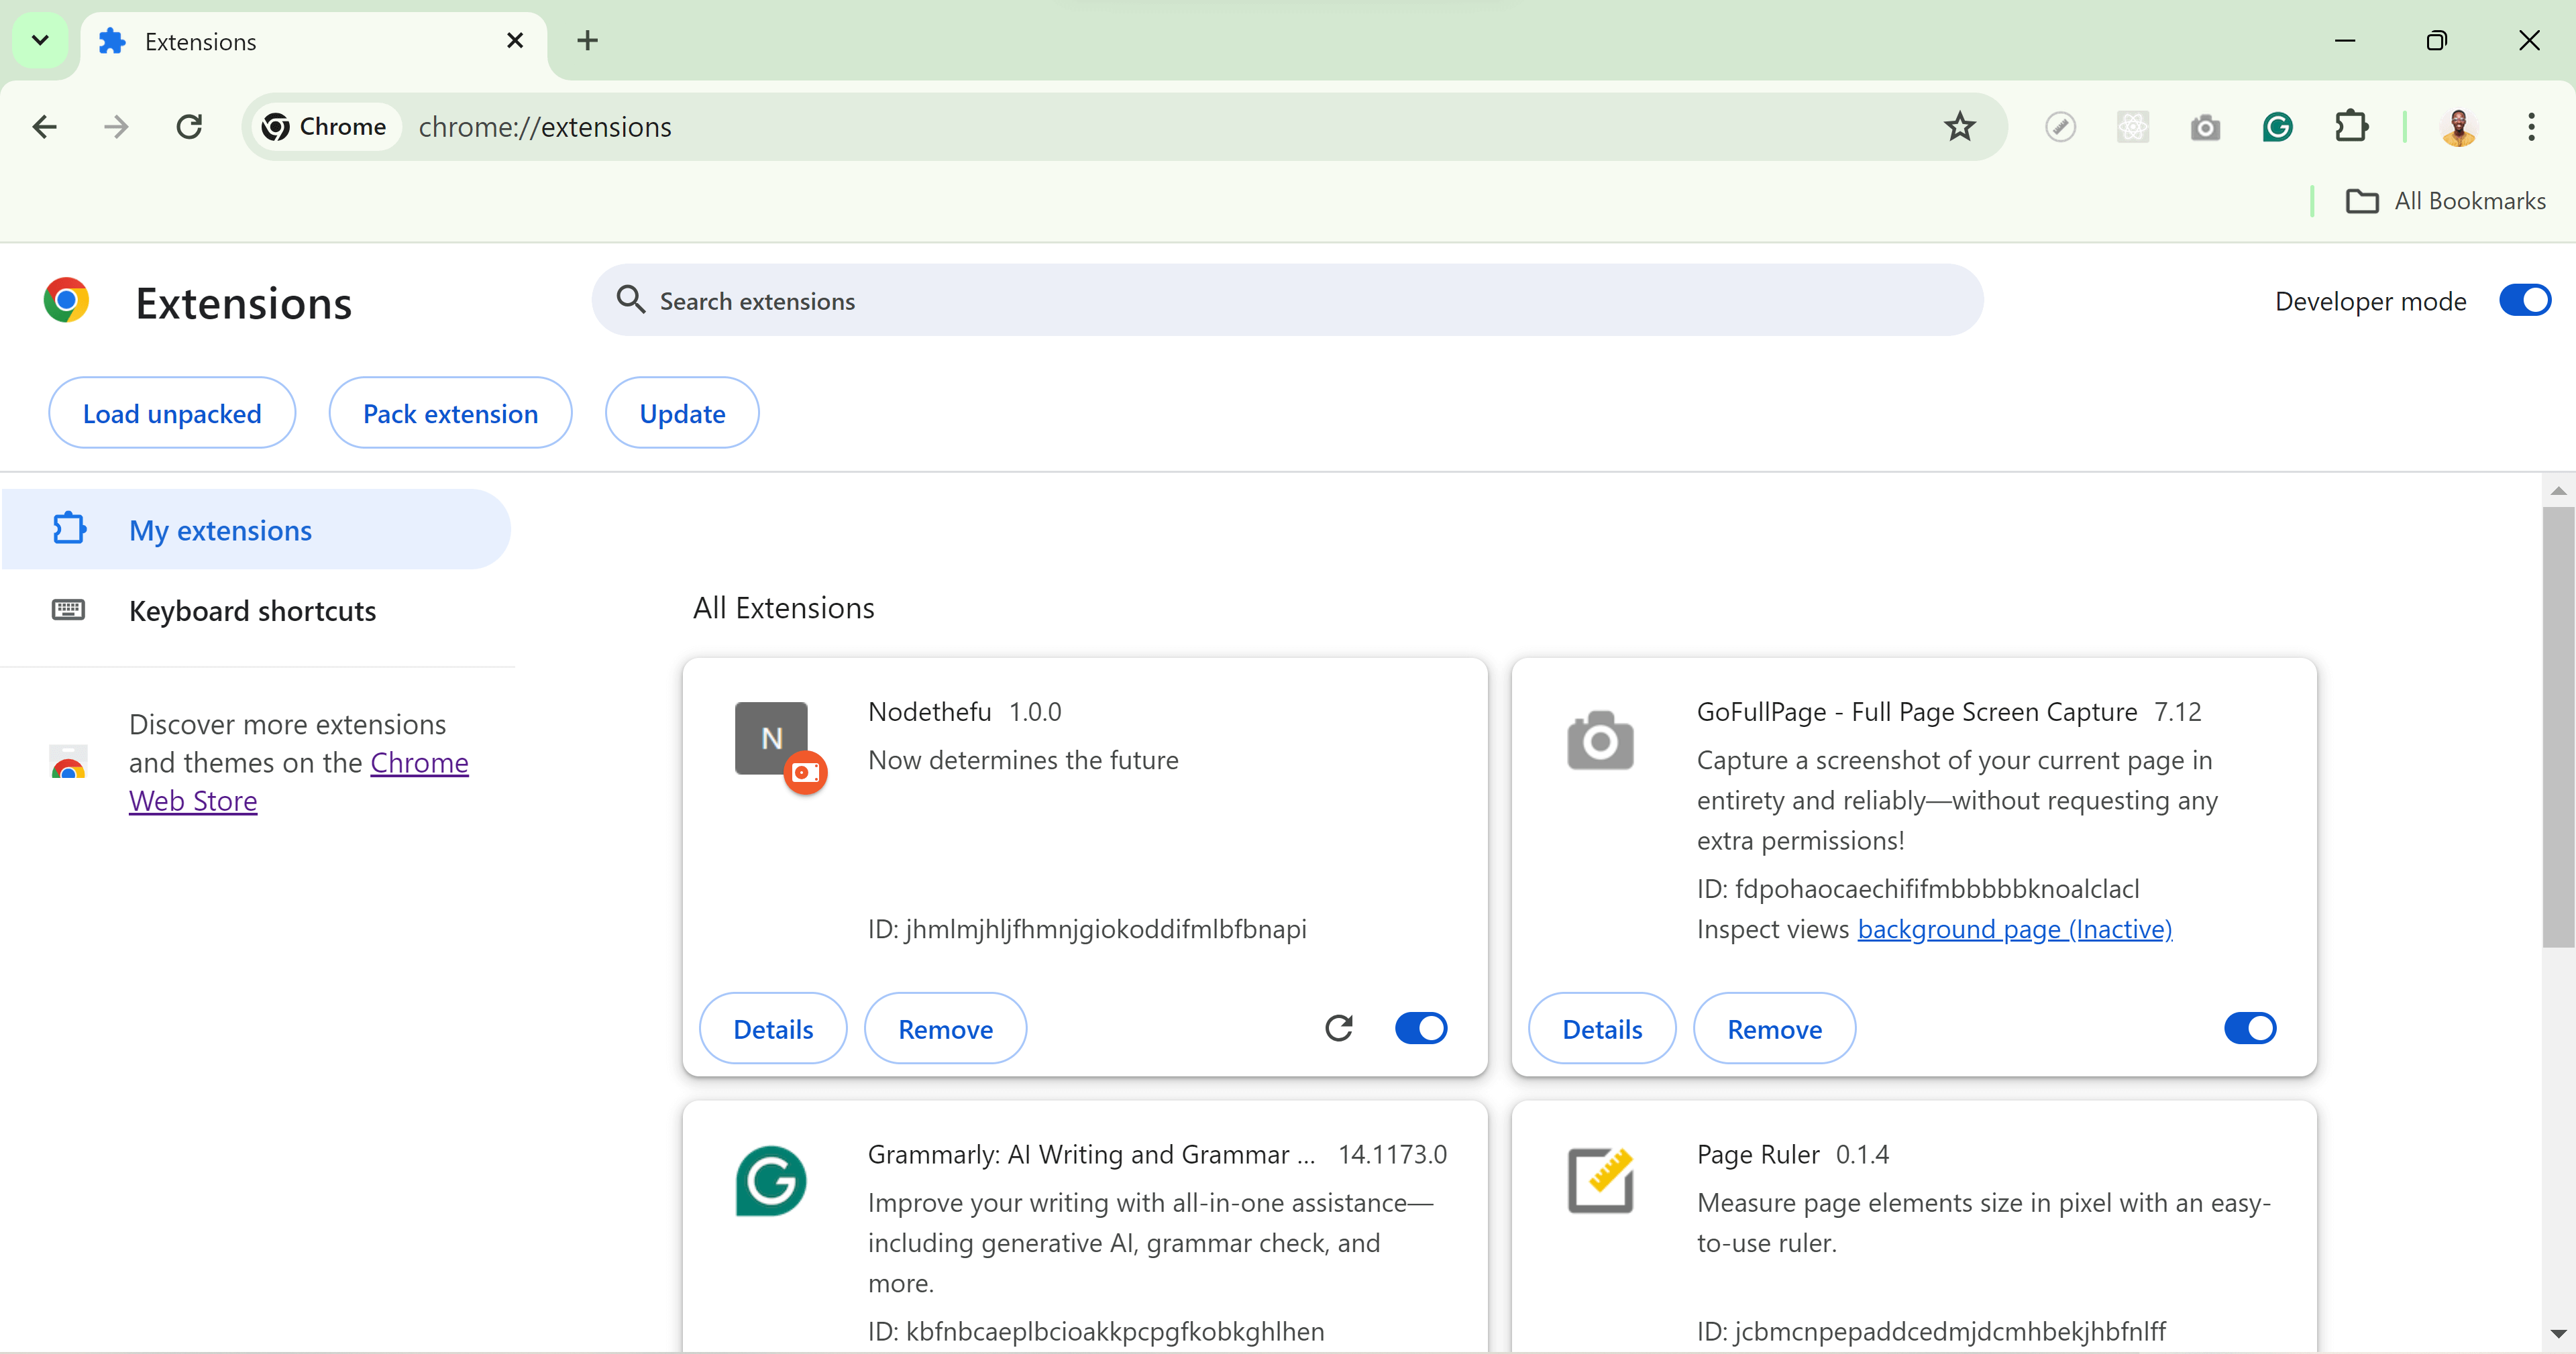
The URL chrome://extensions opens the Developer mode, which is the interface for configuring and managing your extensions. It’s similar to DevTools but specifically for extensions, serving as a playground to test my extension locally. Here’s what I did after opening it:
- Toggled the Developer mode located in the top right corner.
- Clicked on the ‘Load unpacked’ button and selected the folder of the extension.
- Occasionally clicked on the refresh icon whenever I made changes to the codebase.

Step 5: Publish
The chrome web store is where anyone can publish their extension, similar to the App Store and Play Store. I chose not to publish it because I thought it would only be useful to me.
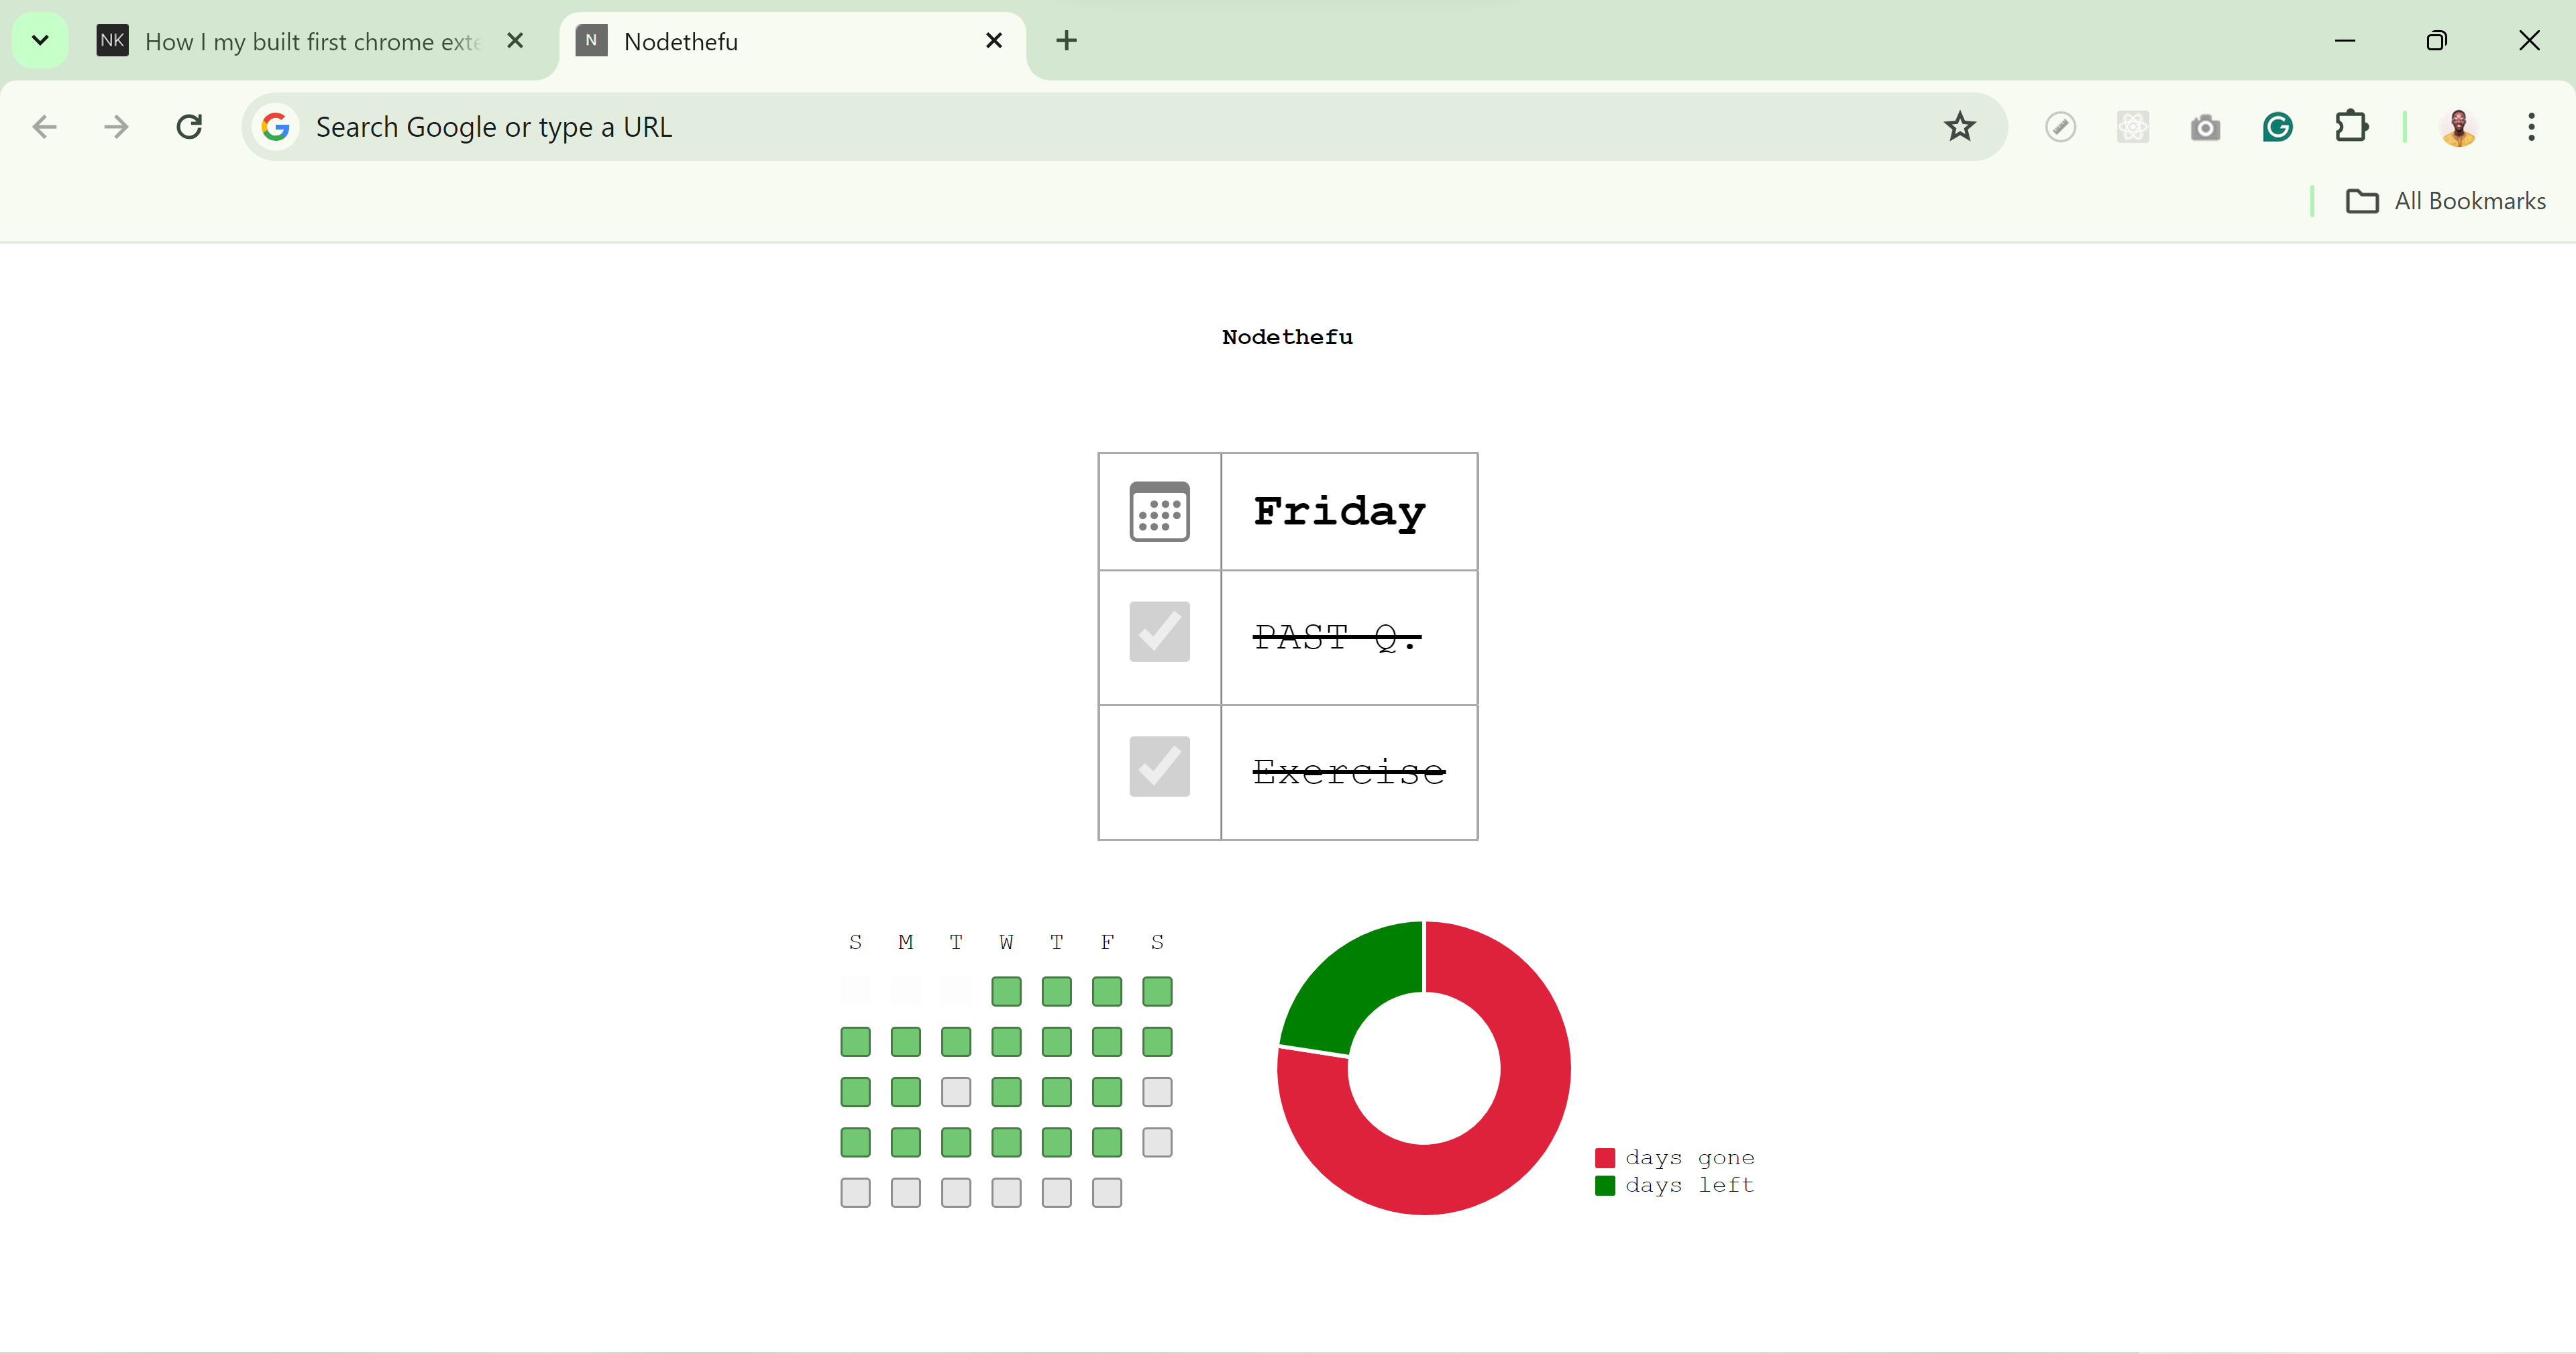
Screenshot of the extension

The complete source code of the project can be found on Github
Features
- To learn list: Gives me a daily reminder of the courses I need to learn.
- Study graph: Provides an overview of my learning routine, showing the days I studied and the days I skipped.
- Pie chart: Displays the number of days remaining before exams as a visual reminder.
Challenges
- CORS: Chrome extension development does not allow scripts from a CDN. Consequently, I encountered CORS errors and had to download the chart.js script instead.
- Simplicity: During the development process, I was bombarded with numerous design ideas and was tempted to add more features, but I opted to keep it simple.
Conclusion
Browser extensions are incredibly convenient and useful, allowing us to develop various tools to enhance our browsing experience and improve our workflow. I recommend that everyone create their own browser extension, It’s a fun and interesting process.
After building my first extension, I went on to start working on two more. One is called Tabstics, and the other is disable_yt_short. YouTube Shorts were becoming addictive, so I am working on an extension that disables them by default and removes other YouTube ads.
In the future, I will consider working on more features, improving the UI, and publishing it to the web store. I have drafted most of the ideas I had during development. You can also DM me on Twitter if you have any ideas or want to contribute.
Thanks for reading.
